Setting up
Everything pairs with one code. The whole setup is: install the phone app, optionally set up the Mac, scan one QR code, put the glasses on.
1. The phone app
Install the DreamLayer app and open it. A short welcome walks you through what the product does and ends at pairing. After that, the app opens on the Now tab; the Brain tab — the home for your whole setup — is one tap away.
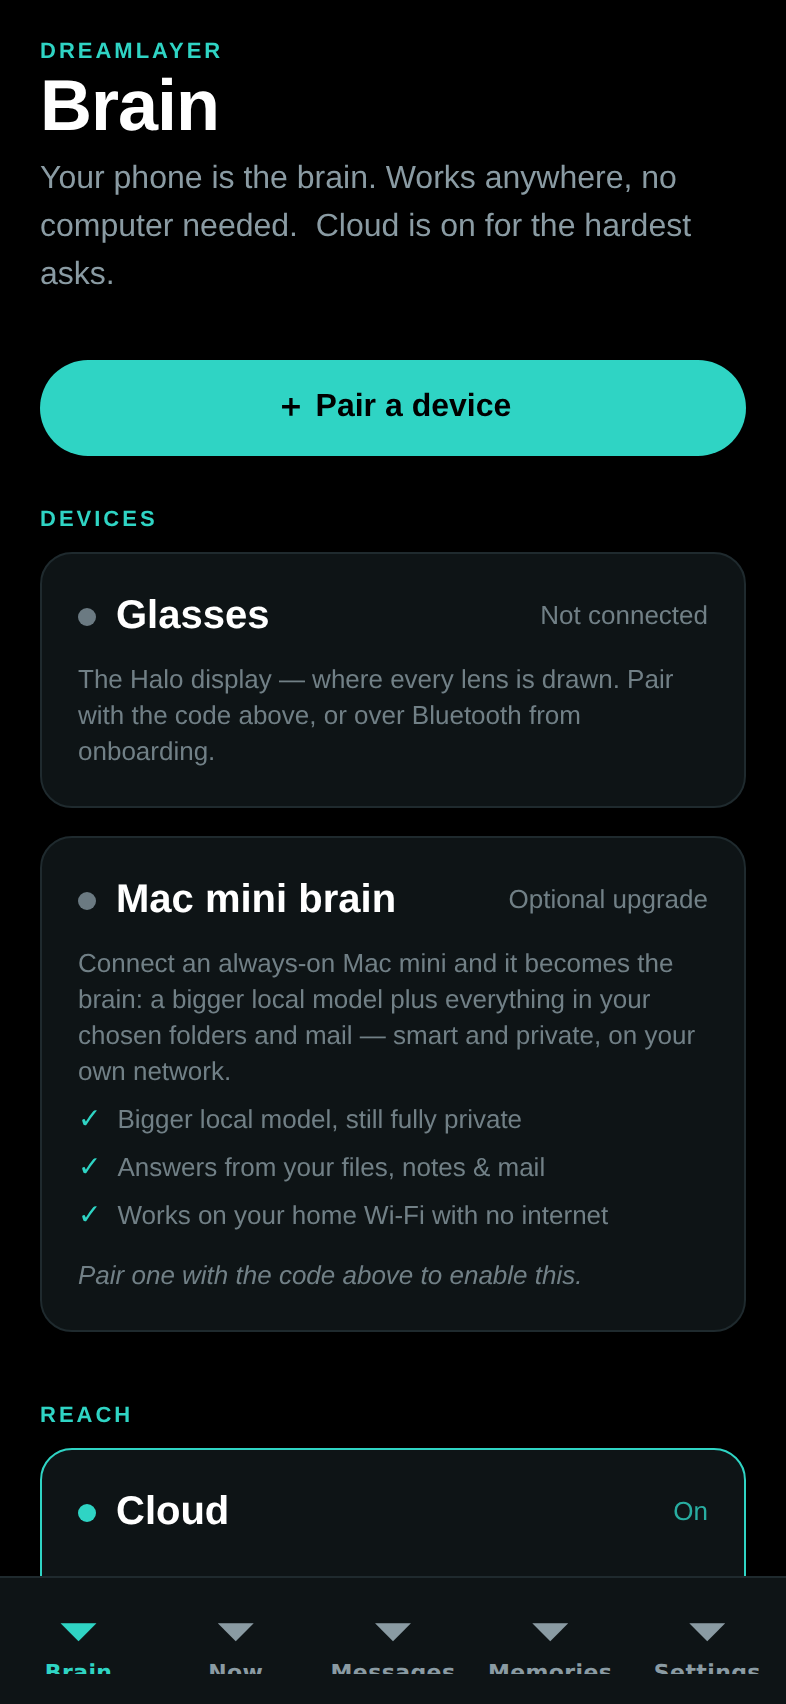
If you are skipping the Mac for now, you are already done: the phone is the brain, and the glasses pair from this same screen. Everything core — memory, people, promises, Juno — works right now.
No hardware at all yet? Tap "Explore with sample data" at the end of the welcome. The whole app fills with clearly-labeled sample data — a banner stays on screen the whole time so you can never mistake it for your own life — and one tap exits.
2. The Mac (optional, recommended)
Adding an always-on Mac upgrades the brain: it can index folders you choose (notes, documents, whatever you point it at), read your Messages and Mail if you allow it, and answer questions from your own stuff — "what's the rent on the lease?" gets answered from the actual lease file, on your own machine.
On the Mac, download the DreamLayer app (a normal Mac download — drag it to Applications, double-click) from the site's Download for Mac button. It lives quietly in your menu bar and opens its control panel in its own window:
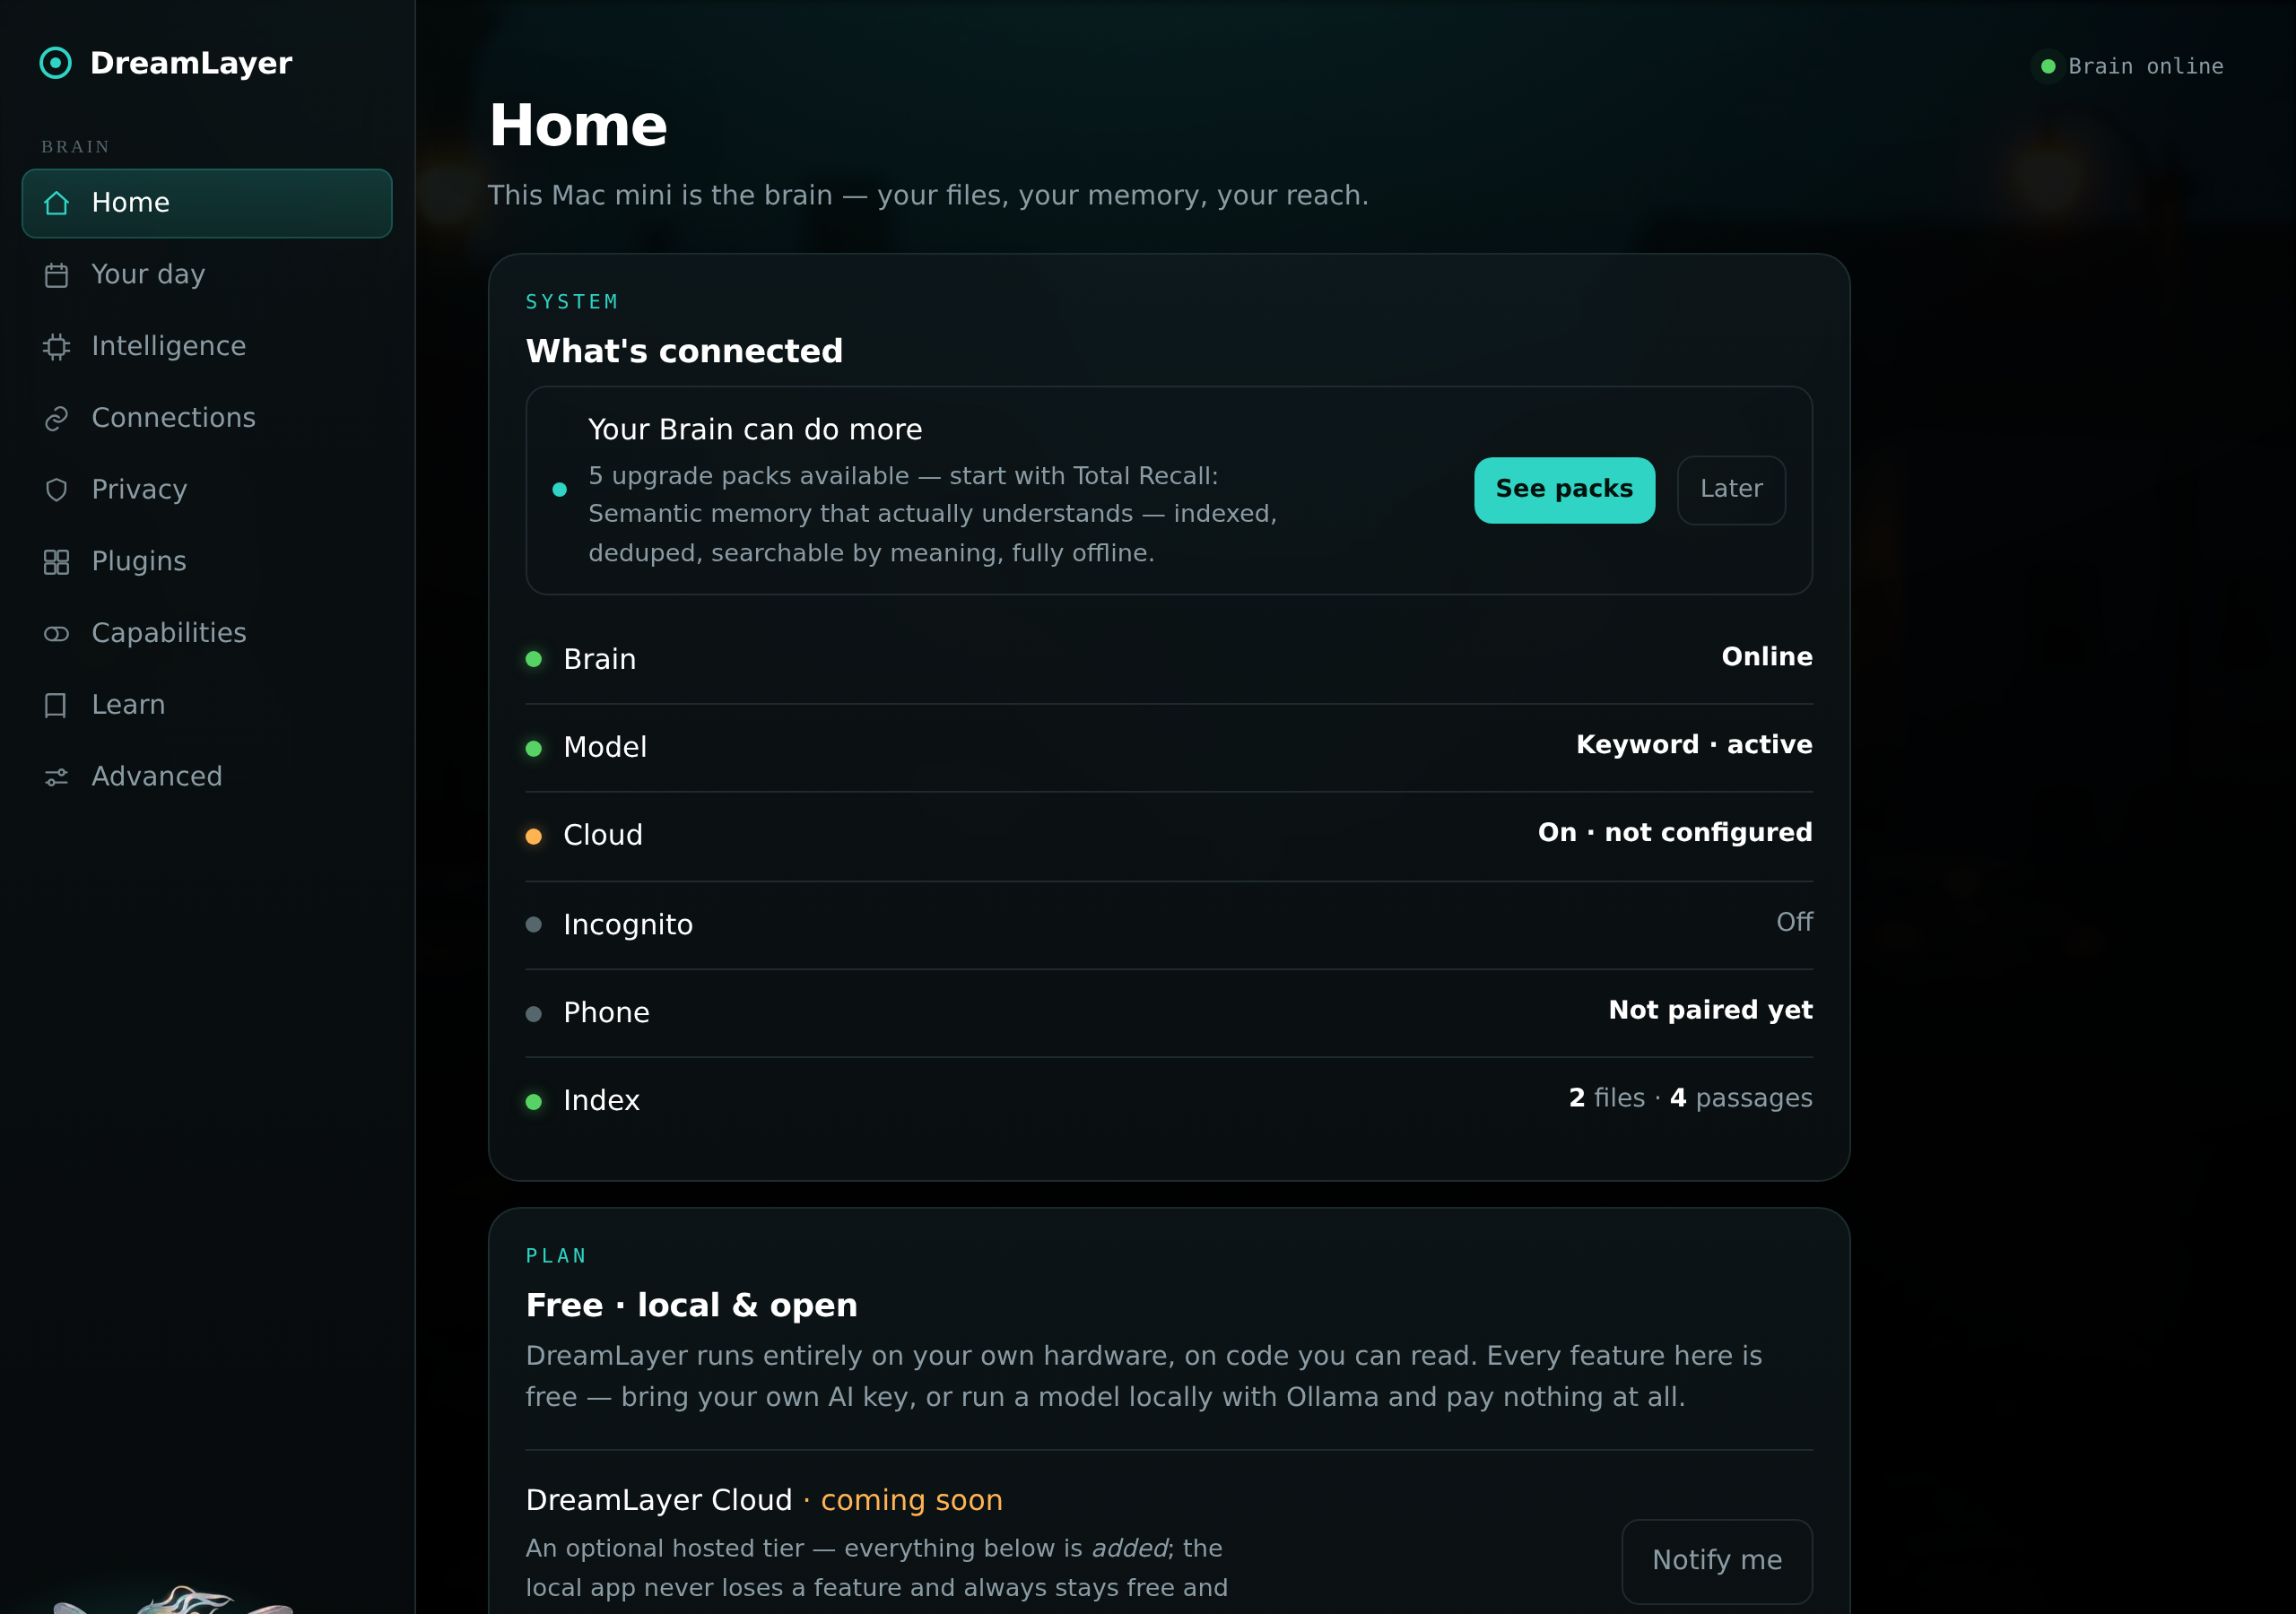
Three things worth doing on day one:
- Choose folders. Point it at the folders you want it to know — it reads them on your Mac and never uploads them anywhere.
- Pick a model. Out of the box it uses simple keyword search (works instantly, no downloads). One click upgrades it to a local AI model that writes proper answers — still entirely on your Mac.
- Sync your calendar, contacts, and reminders if you want the morning brief and people-memory to know about them.
3. Pair everything with one code
In the Mac panel's Connections view, press Pair a phone and a QR code appears:
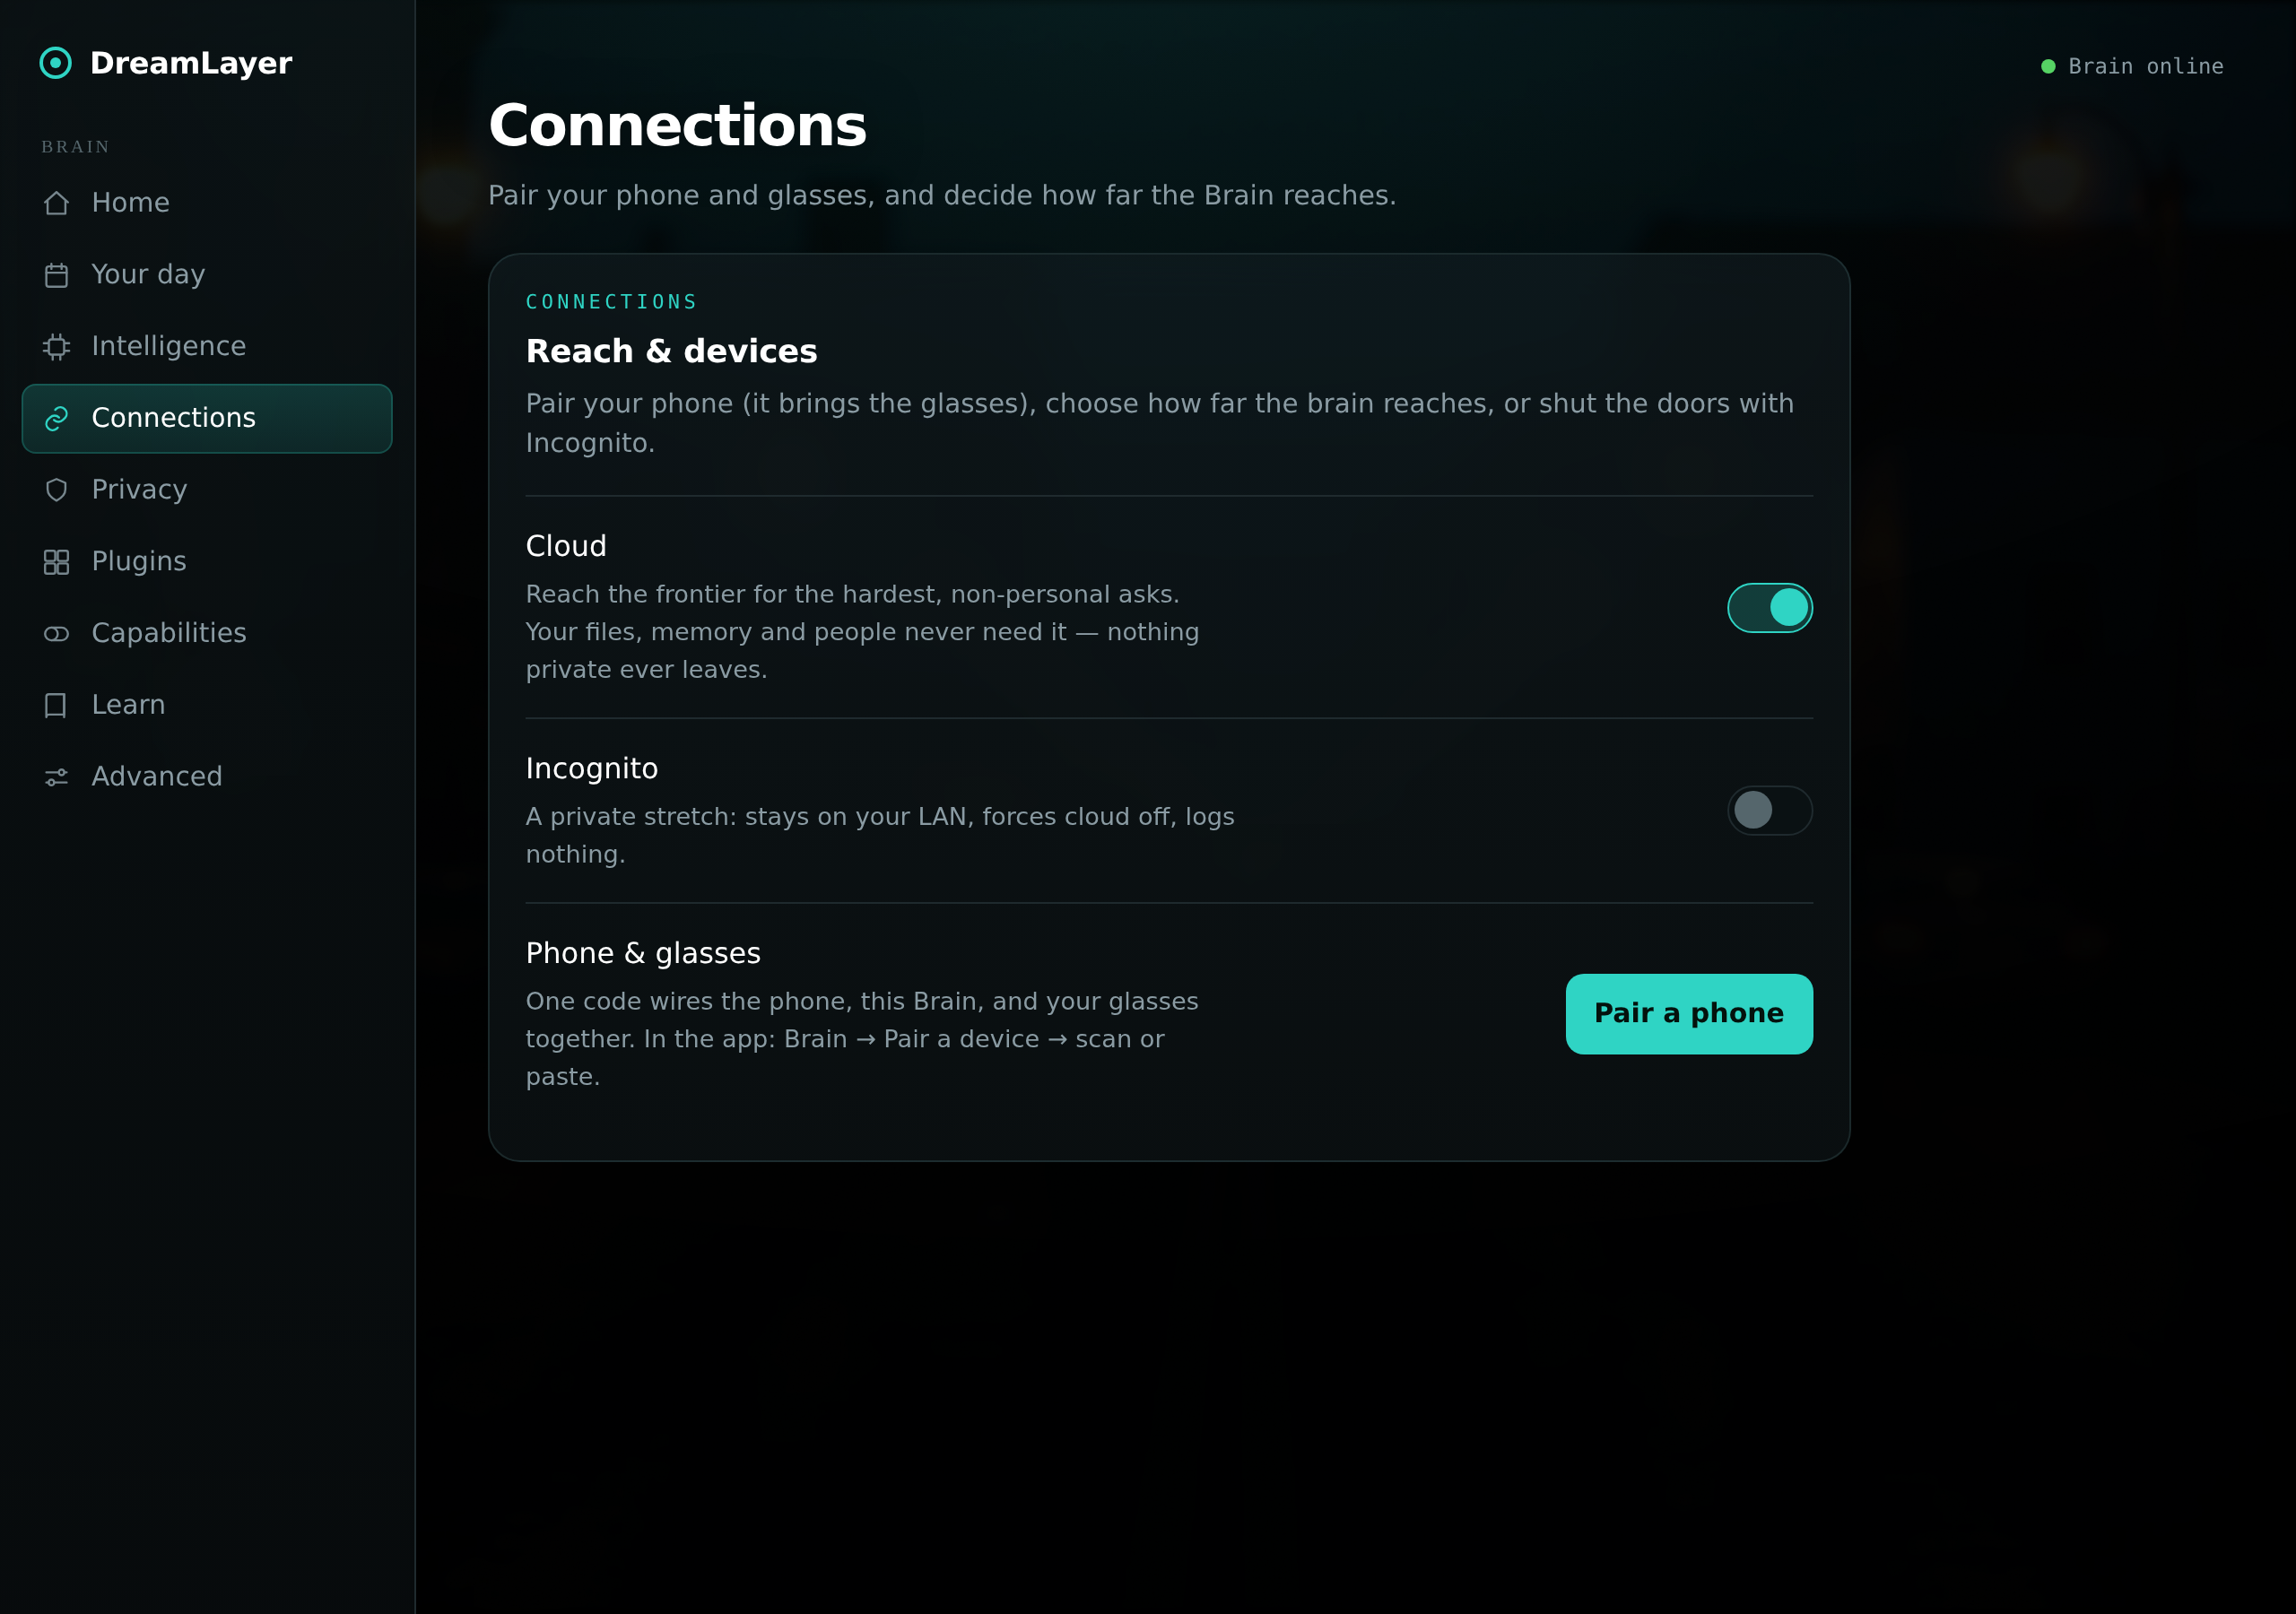
In the phone app: Brain tab, Pair a device, scan. That single code connects your phone to your Mac and registers your glasses — one scan, done. No accounts, no sign-ins; the code itself is the handshake, and it only works for devices on your side of it.
4. Put the glasses on
The display wakes with a ring of light — that ring is your day. From here, the day-with guide shows what living with it is like, and Talking to it covers what you can say.
The three switches
One idea worth learning at setup time: DreamLayer has no complicated modes, just three independent switches, all on the Brain tab.
| Switch | Plainly | Starts as |
|---|---|---|
| Mac | "Use my Mac's bigger brain and my files" | Off — phone is the brain |
| Cloud | "For a rare hard question, ask the internet AI" | Off — opt in when you want it, and it never gets your personal stuff |
| Incognito | "For the next stretch: remember nothing, and no cloud, period" | Off |
That is the entire mental model. The privacy chapter covers what each one really means for your data.